How to Read a Metal Sunglasses Sample Approval Checklist
The sample approval stage is the most important quality checkpoint in a custom metal sunglasses project. It is the only point in the production process where changes are still cost-effective. Once bulk production has been authorized, altering the plating color, adjusting a hinge, or correcting a dimension requires stopping production and restarting a process that is already running — a cost and lead time consequence that sample approval is specifically designed to prevent.
Most first-time buyers evaluate a sample the same way they would evaluate a finished product in a store: they look at it, try it on, and decide if they like it. This misses a significant portion of what a sample is actually communicating. A sample is a physical specification — a three-dimensional representation of every production decision made up to that point. Reading it correctly means checking those decisions systematically, not just assessing the overall impression.
This guide covers what to check, in what order, and how to communicate findings back to the manufacturer in a way that results in a corrected sample rather than a back-and-forth that delays the project.
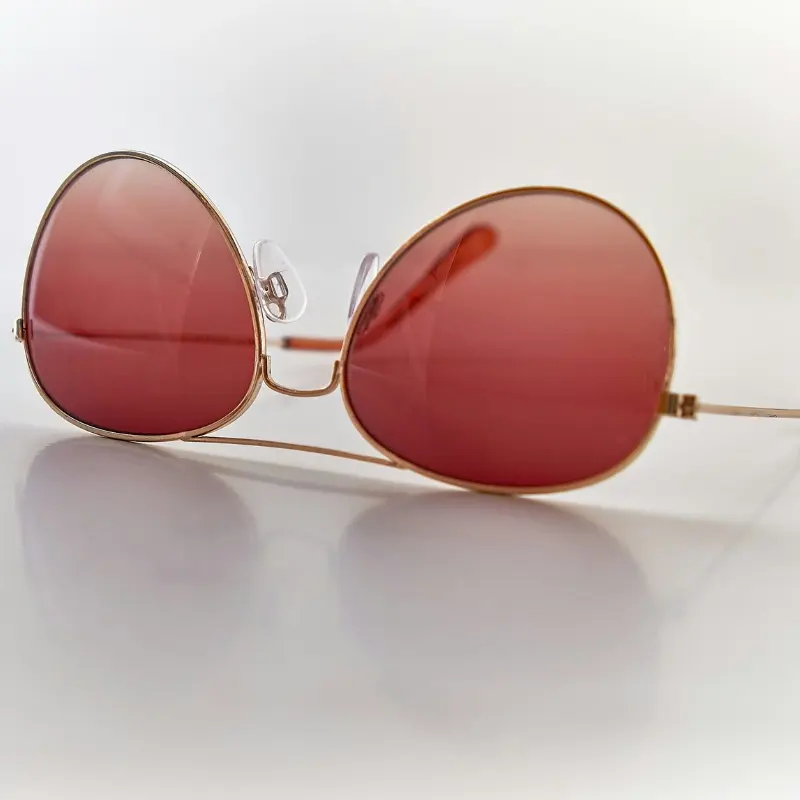
Before the Sample Arrives: What a Good Manufacturer Sends First
A reputable manufacturer does not simply ship a sample and wait for feedback. Before the physical sample arrives, you should receive:
Detailed sample photographs: High-resolution images of the finished sample from multiple angles — front, side, three-quarter, hinge detail, nose pad detail, logo detail, and any area where the brief specified something specific. These photographs allow an initial review before the physical sample arrives and serve as a documented record of what the factory produced at the sample stage.
A sample test report: This documents the basic quality parameters tested on the sample before shipment — typically including hinge cycle testing, plating adhesion, salt spray result, and dimensional measurements. The test report is not a replacement for your own physical review, but it establishes the factory’s baseline and gives you a reference point for comparison.
At Sailook, both the sample photograph package and the sample test report are provided to clients before the physical sample ships. This allows clients to identify obvious issues in advance and focus the physical review on the details that require hands-on evaluation.
Step 1: Dimensional Verification
The first check on any metal sunglasses sample is dimensional — does the frame match the agreed specifications in measurable terms.
Using a Printed Technical Drawing
The most reliable method for dimensional verification does not require calipers or measuring instruments at the initial review stage. Print the approved technical drawing at 1:1 scale and place the physical sample directly on top of it. Key dimensions — lens width, bridge width, temple length, overall front width — can be verified by eye in seconds. Misalignment between the sample and the drawing is immediately visible.
This method works because metal sunglasses technical drawings are produced at actual size. A sample that matches the drawing at 1:1 is dimensionally correct; a sample that extends beyond the drawing outlines or falls short of them indicates a production deviation.
Check the following dimensions against the drawing:
| Dimension | What to Check |
|---|---|
| Lens width (eye size) | Left and right match; both match drawing |
| Bridge width | Distance between lenses matches spec |
| Temple length | Both temples match drawing; left and right equal |
| Frame front width | Total width matches drawing |
| Lens height | Vertical dimension matches spec |
| Nose pad position | Pad arms positioned symmetrically |
Symmetry Check
Place the frame face-down on a flat surface. All four contact points — the two temple tips and the two bottom corners of the front frame — should rest flat simultaneously. If the frame rocks, the front frame or temples are not in the same plane, indicating a geometry error that will affect how the frame sits on the face.
Step 2: Surface and Plating Inspection
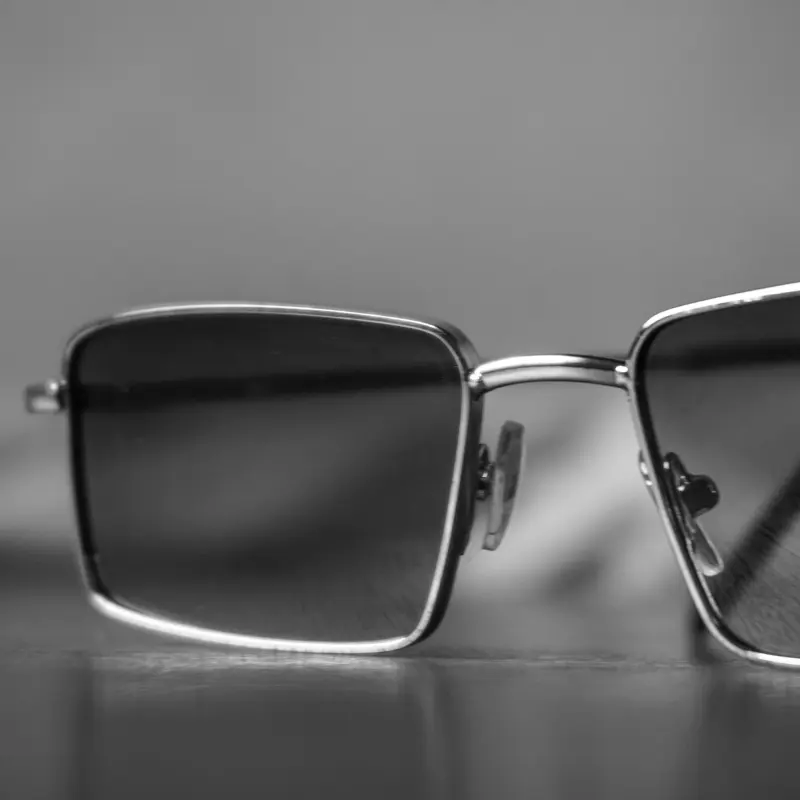
The second check is the surface — color, texture, and plating quality. This is the most visually obvious check but also the one most buyers stop at, without going deeper into the plating quality indicators beneath the surface appearance.
Color Verification
Compare the frame color against the agreed color reference — a physical color swatch, a Pantone reference, or an approved color sample from a previous round. Do not rely on memory or screen color for this comparison. Natural daylight is the correct light source; indoor fluorescent or incandescent light shifts color perception significantly.
Check color consistency across the entire frame:
- Does the front frame match the temples?
- Are the hinges and end-pieces the same color as the surrounding frame?
- Are there any areas where the color is noticeably lighter, darker, or has a different tone?
Surface Quality Indicators
Beyond color, examine the surface for specific defects that indicate plating or pre-treatment issues:
Pinholes or pitting: Small depressions in the plated surface indicate contamination or inadequate pre-treatment before plating. These are not cosmetic issues — they are points where the plating layer is thin or absent, and where corrosion will initiate first.
Orange peel texture: A textured surface that resembles orange peel rather than a smooth finish indicates the base metal was not polished sufficiently before plating. The texture cannot be corrected after plating.
Bubbling or blistering: Small raised areas in the plating indicate trapped gas or inadequate adhesion between layers. These will eventually crack or peel.
Color banding: Visible bands of slightly different color or gloss across the frame surface indicate inconsistent plating bath conditions during production.
Weld marks: Visible raised areas or color changes at solder or weld points — particularly at the brow bar junction or nose bridge — indicate inadequate post-weld polishing before plating.
Plating Adhesion: A Simple Field Test
Without laboratory equipment, adhesion can be roughly assessed at a non-visible point — the inside of a temple near the hinge — using a fingernail. Apply firm lateral pressure with the fingernail edge. Quality plating does not lift or flake under this pressure. This test is not definitive, but plating that lifts under fingernail pressure at the sample stage will fail in production.
Step 3: Hinge and Hardware Evaluation
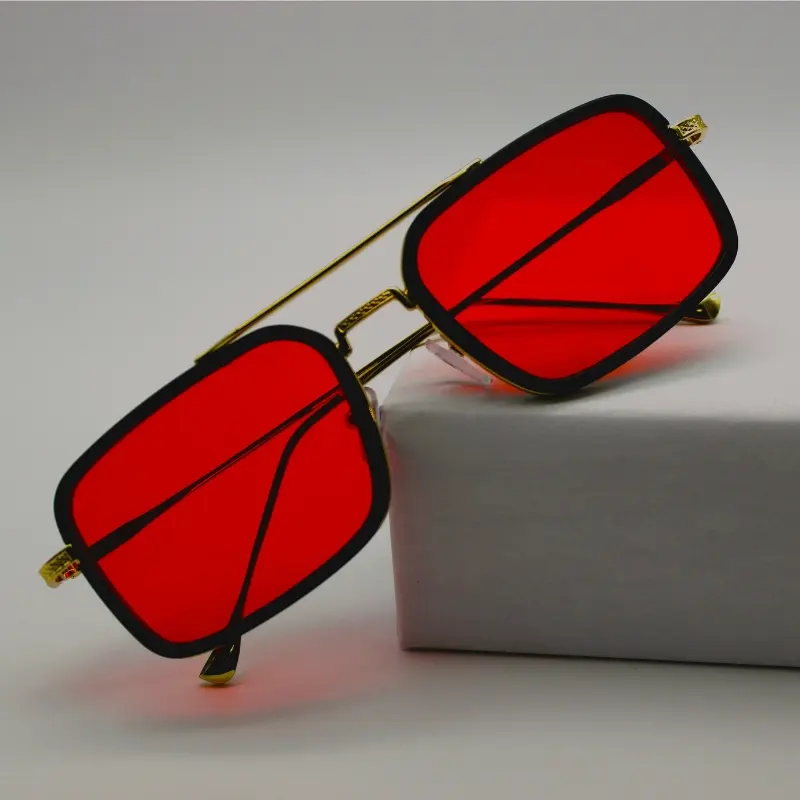
Hinge quality is one of the most important structural variables in a metal sunglasses frame and one of the most frequently under-evaluated at sample stage.
Hinge Action
Open and close the temple repeatedly — at least 20 cycles. Assess:
Resistance: The hinge should open and close with consistent, moderate resistance. Too loose from the first opening indicates an undersized hinge or insufficient barrel fitment. Too stiff may loosen over time to the correct feel, or may indicate a manufacturing tolerance issue.
Smoothness: The motion should be smooth throughout the arc. Any grinding, catching, or clicking indicates either debris in the hinge or misalignment between barrels.
Return position: After opening and closing, the temple should return to exactly the same position each time. A temple that settles at a slightly different angle after each cycle indicates a loose barrel fitment.
Spring hinge function (if specified): The temple should flex outward smoothly beyond 90 degrees and return to the standard open position consistently. The return force should feel even — not strong at first and then dropping off, which would indicate a weak spring.
Barrel Count Verification
Count the hinge barrels visually — or by running a fingernail across the hinge joint to feel the individual knuckles. Confirm the barrel count matches the specification. This is a simple check that is frequently skipped and occasionally produces surprises when a supplier substitutes a lower barrel count than specified.
Screw Check
All hinge screws should be fully seated — no gap between the screw head and the surrounding metal surface. A screw that sits proud of the surface was not properly tightened during assembly. Check that screws are the correct head type (flathead vs Phillips vs pin) as specified.
Nose Pad Assessment
Material: Squeeze the nose pad gently between two fingers. Silicone pads have a distinct soft, slightly tacky feel. Hard PVC is rigid. Soft PVC is flexible but not as soft or grippy as silicone. If the specification calls for silicone and the sample has PVC, this is visible and feelable.
Pad arm adjustment: Gently move each pad arm with a fingernail or pad arm tool. The arm should hold its position when released — not spring back or shift under light pressure. Pad arms that do not hold position will not maintain adjustment in daily use.
Symmetry: The two nose pads should be at the same height and angle when the frame is viewed face-on. A misaligned nose pad is a setup issue, not a material issue, but it affects both aesthetics and fit.
Step 4: Logo and Branding Verification
Logo execution is an area where sample approval frequently reveals discrepancies between the brief and the production output.
Laser Engraving
Run a fingertip across the engraved area. The engraving should have a consistent depth and clean edges. Feathering at the edge of letterforms, uneven depth across the logo, or residual material at engraving lines all indicate laser parameter issues. The logo should be legible at the specified size — if text is part of the logo, each character should be individually readable.
Pad Printing
The print should have sharp edges with no bleeding into surrounding areas. Color should match the specified reference. Press a clean white cloth against the printed area — properly cured pad printing does not transfer to the cloth. If ink transfers, the curing process was incomplete, and the logo will wear off in use.
Metal Inlay
Metal inlay logos should be flush with the surrounding surface — not raised or recessed. Run a fingernail across the inlay edge; there should be no lip or step. A recessed inlay collects debris; a raised inlay will catch on clothing and fabrics during use.
Position and Size
Place the logo against the specified position on the technical drawing. Measure or estimate the logo size against the spec. Off-center or incorrectly sized logos at sample stage will be reproduced at that same incorrect position in bulk production.
Step 5: Fit and Wearability Assessment
A metal sunglasses frame should be evaluated on a face, not just in the hands. Several quality and fit parameters are only detectable when the frame is worn.
Weight distribution: The frame should feel balanced — neither front-heavy (where the frame tips forward on the nose) nor temple-heavy. Imbalance indicates either a weight distribution issue in the frame design or an incorrectly weighted lens.
Nose pad contact: Both nose pads should make even contact with the nose simultaneously. A frame where one pad contacts before the other will shift to one side under daily wear.
Temple pressure: The temples should apply even, moderate pressure at the sides of the head — not clamping, not loose. Excessive clamping at the sample stage usually indicates temples that are too narrow for the intended head width. This is a geometry issue that needs to be specified in the feedback.
Temple tip comfort: The temple tips — the curved section that rests behind the ear — should follow a natural ear-hook contour without sharp pressure points. Hard or misaligned temple tips are a common complaint in the first weeks of customer use.
Step 6: Cross-Referencing the Sample Against the Original Brief
The final check is a systematic comparison of the physical sample against every line of the original brief or purchase specification.
Create a simple two-column check: specification on the left, sample observation on the right. Any discrepancy between the two columns is a finding that needs to be communicated to the manufacturer.
| Specification Item | Check |
|---|---|
| Frame material | Confirmed / Discrepancy |
| Wire gauge | Confirmed / Discrepancy |
| Hinge type and barrel count | Confirmed / Discrepancy |
| Nose pad material | Confirmed / Discrepancy |
| Plating method | Confirmed / Discrepancy |
| Color reference match | Confirmed / Discrepancy |
| Salt spray rating (from test report) | Confirmed / Discrepancy |
| Logo position, size, method | Confirmed / Discrepancy |
| Temple length | Confirmed / Discrepancy |
| Lens material and type | Confirmed / Discrepancy |
| UV400 compliance | Confirmed / Discrepancy |
| Packaging specification | Confirmed / Discrepancy |
How to Give Feedback That Gets Results
Sample feedback that results in a corrected second sample — rather than multiple revision rounds — shares specific characteristics.
Use photographs with annotations: A written description of a surface defect is ambiguous. A photograph with an arrow pointing to the specific area is not. Take close-up photographs of every issue found and annotate them with a brief description of the problem and what the expected standard is.
Distinguish between must-fix and acceptable: Not every finding requires a revision. Some surface variations are within acceptable tolerance; others are not. Categorize feedback into: (1) must correct before approval, (2) should improve in bulk production but does not block approval, and (3) noted for reference. This gives the manufacturer a clear priority sequence.
Reference the specification: Instead of “the gold color looks wrong,” write “the gold color on the sample does not match Pantone 871C as specified in the brief — sample appears approximately 20% lighter.” The more specific the reference, the more actionable the correction.
Confirm what is correct: Feedback that only lists problems without confirming what is correct is harder to act on. A note that says “hinge action is correct, plating on temples is correct, but bridge color deviates from spec” is more useful than a feedback document that only lists the bridge color issue — because the manufacturer now knows the hinge and temple plating do not need to change.

FAQ
What should I receive from the factory before my metal sunglasses sample ships?
Before the physical sample ships, you should receive detailed photographs of the sample from multiple angles — including close-ups of hinge, logo, and nose pad — and a sample test report covering hinge cycle testing, plating adhesion, salt spray result, and key dimensions. These allow an initial review before the physical sample arrives and establish a documented baseline.
How do I check if a metal sunglasses sample matches the technical drawing?
Print the technical drawing at 1:1 scale and place the physical sample on top of it. Key dimensions — lens width, bridge width, temple length, overall front width — can be verified visually by comparing the sample outline to the drawing. This is a fast, reliable method that does not require measuring instruments for an initial check.
What plating defects should I look for on a metal sunglasses sample?
Check for pinholes or pitting (thin plating at contamination points), orange peel texture (inadequate pre-plating polish), bubbling or blistering (adhesion failure), color banding (inconsistent plating bath), and visible weld marks at bridge or brow bar junctions. A simple fingernail adhesion test at a non-visible point can also indicate whether the sealing coat has adequate bond strength.
How many hinge cycles should I test on a sample?
Open and close the temple at least 20 times during sample review. This is not a durability test — it is a function test to identify loose barrel fitment, grinding, uneven resistance, or inconsistent return position. Actual hinge durability is addressed by the factory’s cycle test documented in the sample test report.
What is the most common mistake brands make when reviewing a metal sunglasses sample?
Evaluating the overall visual impression rather than checking systematically against the specification. A sample can look attractive and still have plating deviations, dimensional discrepancies, incorrect hardware, or logo placement errors that will be reproduced in bulk production. The sample review is a specification check, not a style assessment.
How should I communicate sample feedback to the factory?
Use annotated photographs for every issue — a photograph with an arrow pointing to the problem is unambiguous where written descriptions are not. Categorize feedback into must-fix, should-improve, and noted-for-reference. Reference the specification in each finding rather than describing the problem in subjective terms. Confirm what is correct alongside what needs to change.
Summary
A metal sunglasses sample is a physical specification — a three-dimensional record of every production decision made up to that point. Reading it correctly means checking dimensions against the drawing, evaluating plating surface quality beyond color, assessing hinge and hardware function, verifying logo execution, and cross-referencing every specification item in the original brief.
The sample approval stage is where changes are still possible without production consequence. Systematic evaluation at this stage, backed by annotated photograph feedback, prevents the majority of quality problems that would otherwise appear in bulk production.
For brands developing custom metal sunglasses, Sailook provides sample photographs and test reports before physical samples ship, and supports clients through the sample review process with specification documentation. Our full range of metal sunglasses construction and customization options is covered on our metal sunglasses page.
Let's get started!
Get in touch with a custom eyewear specialist now for a free consultation and instant price quote.
WHATSAPP ME GO!
📱 Scan with your phone to start chatting